Any Single — Post, Page or Project — has couple of common features, intended either to create a visual unique aspect of the Single or to improve its SEO capabilities.
All of them are designed to change locally the already set up features of the Single. Site Header transparency, Featured Branding, Site Content Sidebar, Site Footer Sidebar, Site Footer Below Area and Meta description are mainly customized in Theme Options — on Single admin side, you just decide if you want to showcase or to hide them.
No matter what action you take, your Single overall layout and design will be enhanced by uniqueness and efficiency while customizing General Options.
The General Options are as follows:
Site Header transparency
If this option is enabled, the Site Header becomes transparent and the Site Content is not displayed anymore just below the Site Header, but from the very top of browser window.
By default, if following the normal flow of Single layout, the Site Content is placed immediately below the Site Header.
However, there is one case when the layout flow is changed and the Site Content stands beneath the Site Header, which becomes transparent by this way.
The default state of Site Header transparency option can be changed in Theme Options → Content → General.
The method is generally used when you have an outstanding media element or a visual appealing graphic item, at the beginning of Site Content, and you don’t want to alter its look with other site elements (like Site Header is, in this case).
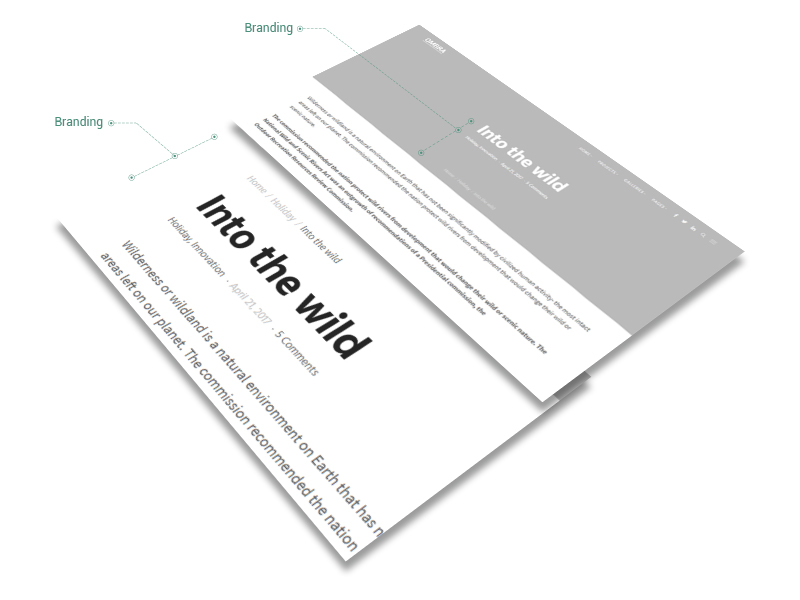
It refers to the Featured Branding previously set up in Theme Options at Content → Featured Branding section.
On Single admin side, you just can enable or disable the Featured Branding, that basically preserves all the features from Theme Options. This fact offers more consistency to site overall design.
The default state (enabled/ disabled) of Featured Branding option can be changed in Theme Options at Content → Featured Branding → Enabled.
Display Branding
It helps you to enable or disable the branding (which includes Title Area, Metadata and Breadcrumbs) on each Single. It also disables Branding inside Featured Branding in case the last one is enabled.
Disabling Branding is useful especially when you want to create a page layout and design from scratch and you need to preserve no predefined elements (like Branding is).
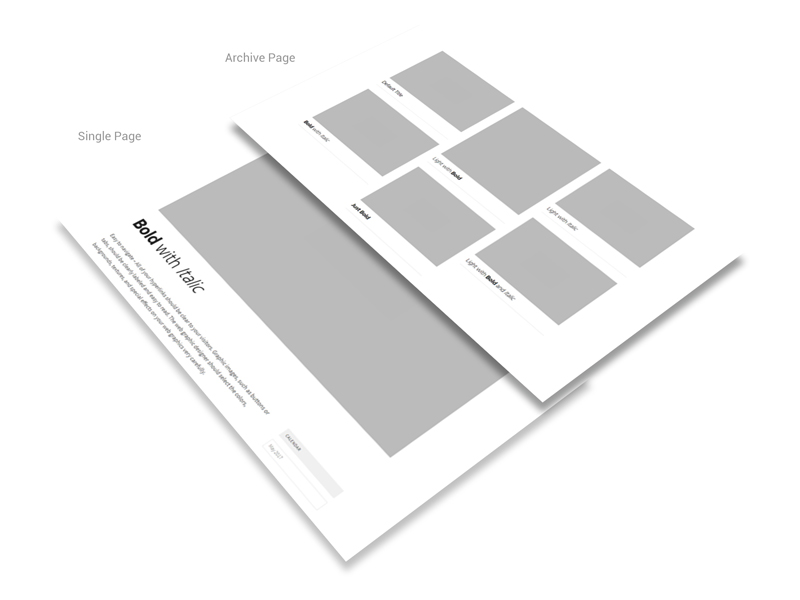
The Title Area is useful when you want the title of Single to be formatted in a different manner than the default one, by changing its style to Bold or Italic.
When inserting a title in Title Area, if no style is applied, neither Bold nor Italic, then the title is displayed with a light font-weight. This helps you to emphasize title by using contrast combinations: Light with Bold, Light with Italic or Bold with Italic.
In Post and Project cases, when the title is formatted, it is displayed so not just on Single, but also on Archive pages.
It refers to Widgets Sidebar previously set up in Theme Options at Content → Sidebar section. On Single admin side, you can enable or disable the Sidebar from General Options panel, that basically preserves all the features from Theme Options. This fact offers more consistency to site overall design. Please see the link for more visual details.
The default state (enabled/ disabled) of Sidebar option can be changed in Theme Options at Content → Sidebar → Enabled.
Choose from the dropdown list — of Custom Sidebars — the sidebar that fits best the specific of your page, post or project. For more information about Custom Sidebar, please see the link.
If no Custom Sidebar is created in Appearance → Widgets, then Custom Sidebar won’t appear in General Options.
Even if the default site background color is already set up in Appearance → Customize → General → Colors → Background, you can change it locally to showcase a unique style for each page separately.
It refers to the Widgets Sidebar previously set up in Theme Options at Footer → Sidebar section. On Single admin side, you can enable or disable the Sidebar from General Options panel, that basically preserves all the features from Theme Options and Appearance → Widgets (Footer Sidebar Column 1, Footer Sidebar Column 2, Footer Sidebar Column 3, Footer Sidebar Column 4). Please see the link for more visual details.
You can enable or disable locally the Site Footer Below Area previously set up in Theme Options at Footer → Below Area section.
Meta description
In order to improve your page ranking on search engines, we recommend you to fill out the Meta Description field. The description inserted here will overwrite the site overall description, mentioned at Site Identity section. Try to be as specific as possible, because this fact helps search engines to identify your page and improve its ranking.
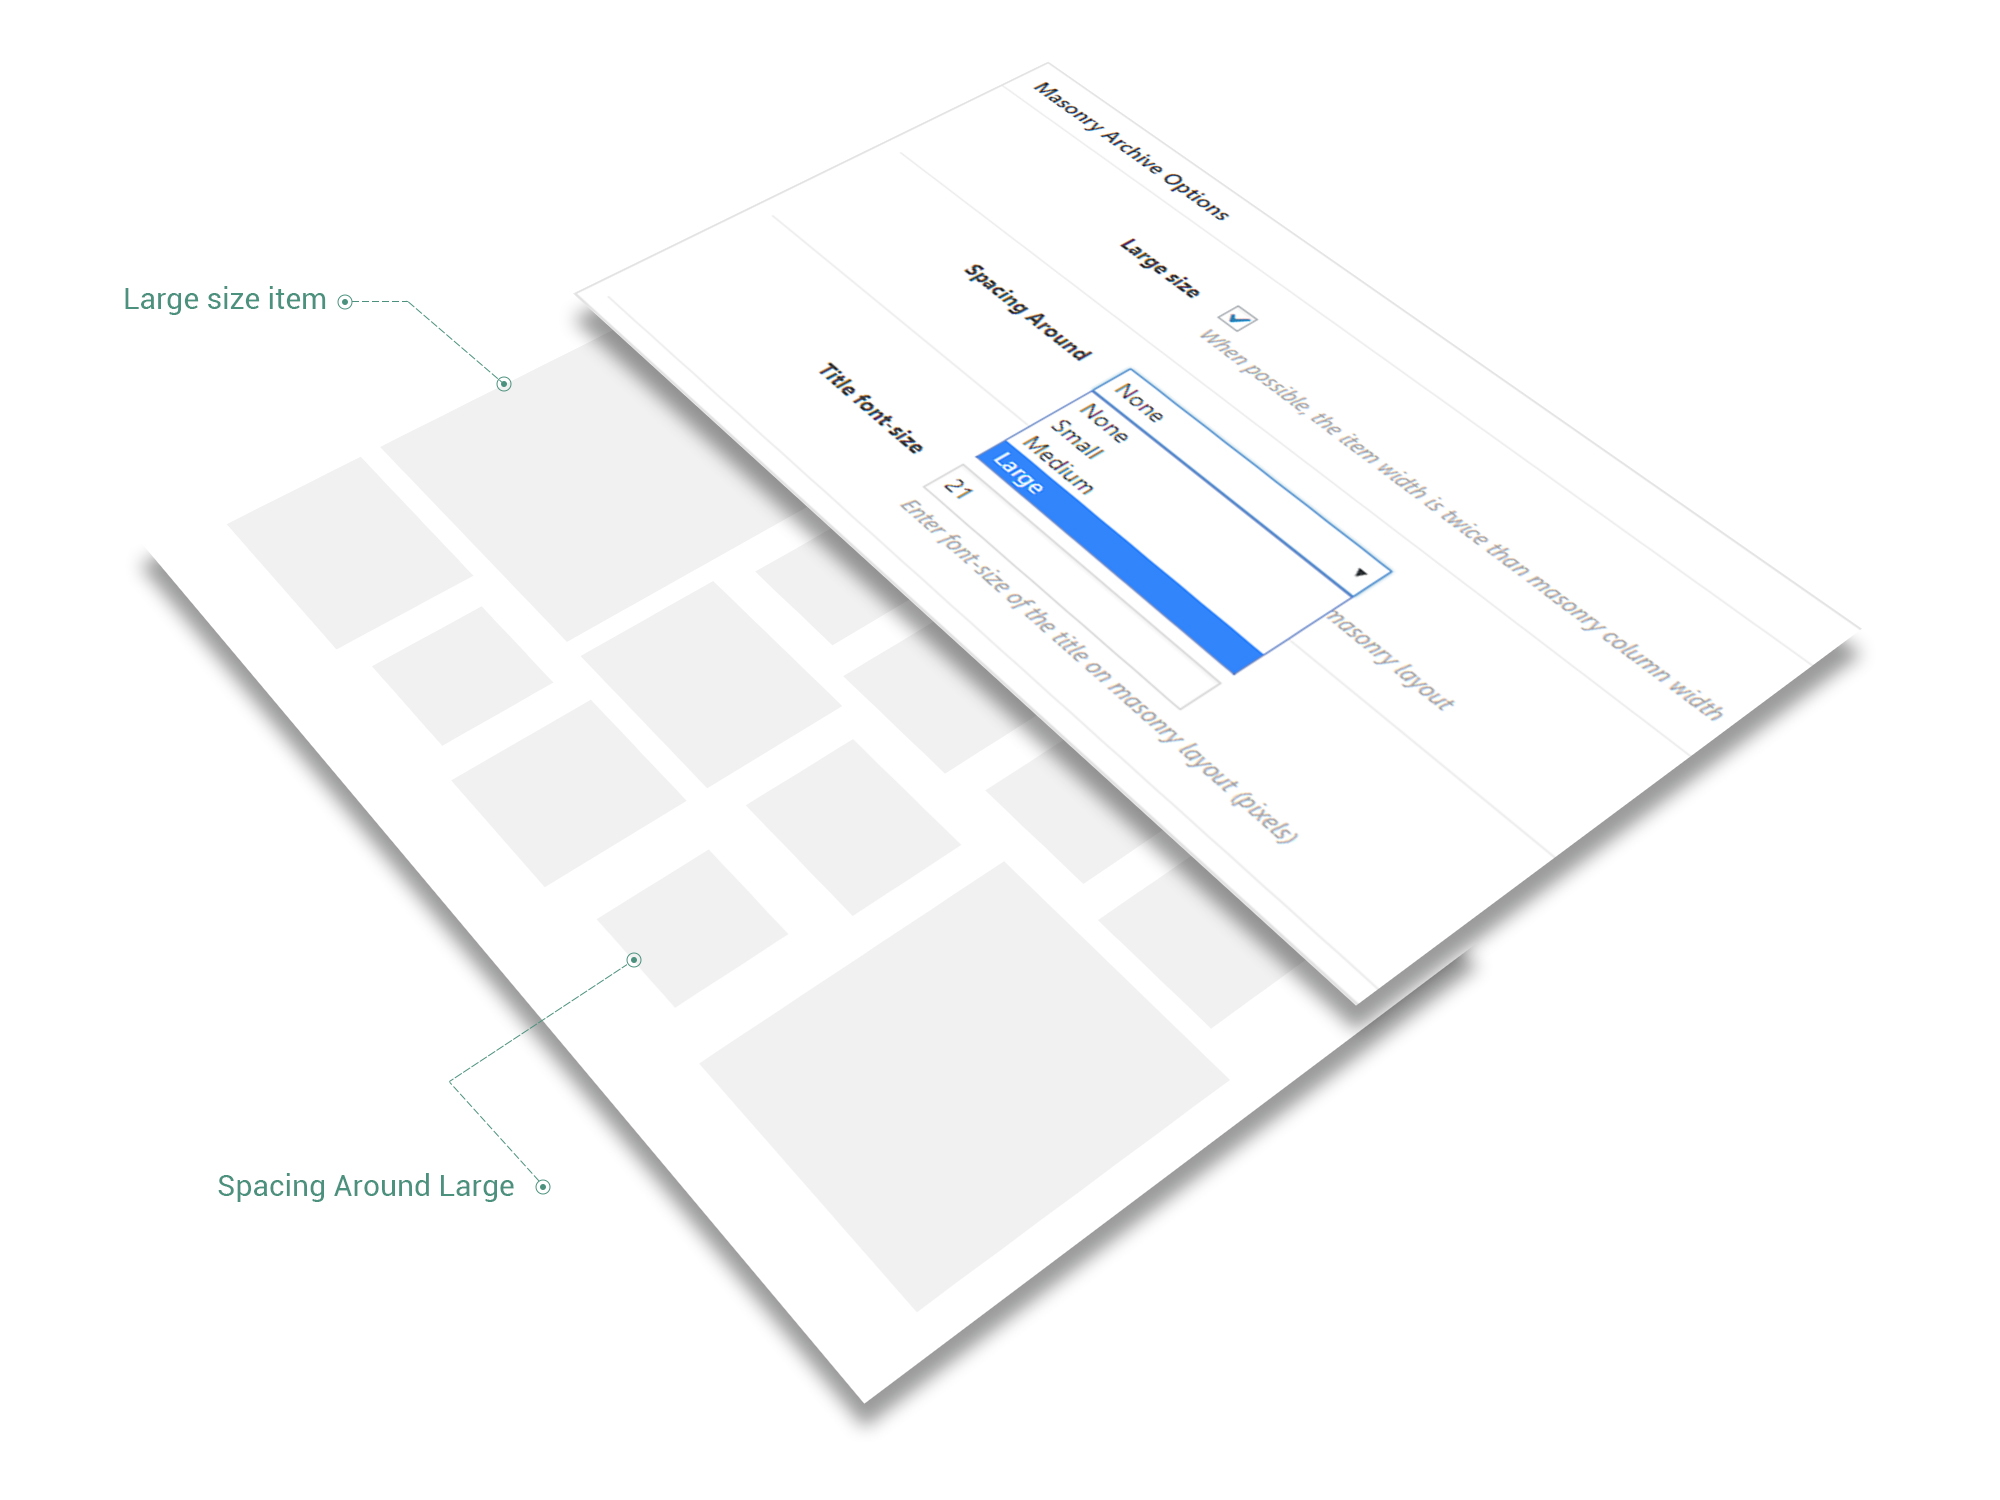
The Masonry Archive Options are common for almost all post types — Post, Project, Album Item, Product — excepting Pages. These options make sense just for the following Archive instances that could showcase masonry layouts: Blog Template for Posts, Projects shortcode for Projects, Album shortcode for Album Items, Shop Page for Products. As Pages have no Archive instance, they do not require such options.
The are couple of options specific for Masonry Archives:
- Large size — when possible, the item width is twice than masonry column width. For example, if the masonry layout has 3 columns, then the item with Large size checked will have the width of 2 columns.
- Spacing around — adds extra spacing around item on masonry layout. It has the following options:
- none — default, no pixels added around the item
- small — 24 pixels added around the item
- medium — 36 pixels added around the item
- large — 48 pixels added around the item
- Title font-size — change the font-size of the title on Masonry layouts. Measured in pixels.
Regardless the columns number of Masonry layout (2, 3, 4, 5 or 6), the maximum width of an item — with Large size checked — is up to two columns width.
The only exception is 1-column-layout where the width of an item (even with Large size checked) is up to one column width.