Pages are entries that live outside of the Posts or Projects chronology, and are often used to present timeless information about your site — information that is always relevant. You can use Pages to organize and manage the structure of your website content.
The organizational structure for Pages comes from hierarchical interrelationship, not from a system of categorization or taxonomies (Categories or Tags).
So, if comparing to Posts or Projects, Pages cannot be associated with Categories or Tags.
Summary
Their hierarchical structure could easily be understood by saying that a page can have parent-pages or sub-pages. For example, a page, that is called About us, can have a sub-page, called Services — by this way, the About us page becomes a parent-page for Services.
Any Page, that Ombra Theme is able to create, consists of the following layout:
- Page Header — the element which offer uniqueness to Page look, as it stands at its beginning. You are able to insert any type of content here, even if it is recommended to use here items with visual strong impact, like Projects or Albums
- Page Content — consists of Branding, Text and Sidebar
- Page Footer — composed of following sections: Info, Comments and Navigation
One specific feature of Pages is that they can utilize custom page templates. OMBRA theme has one powerful and elegant custom template, that is called Blog Template.
You could also set up a Featured Image which works well when Featured Branding is enabled, as it represent its background.
In order to create a page, you should do the following steps:
- Log in to your WordPress Dashboard
- Click Pages → Add New
- Enter your page title in the upper field, then fill up your page body content in the main page editing box
- As needed, choose the Template or select a Parent-page
- Customize your Page from General Options or Page Options panels
- When you are ready, click Publish
Page Options
The Page Options are the necessary tools to make your page to stand out from other elements or pages of your site. They are represented by Hero Header.
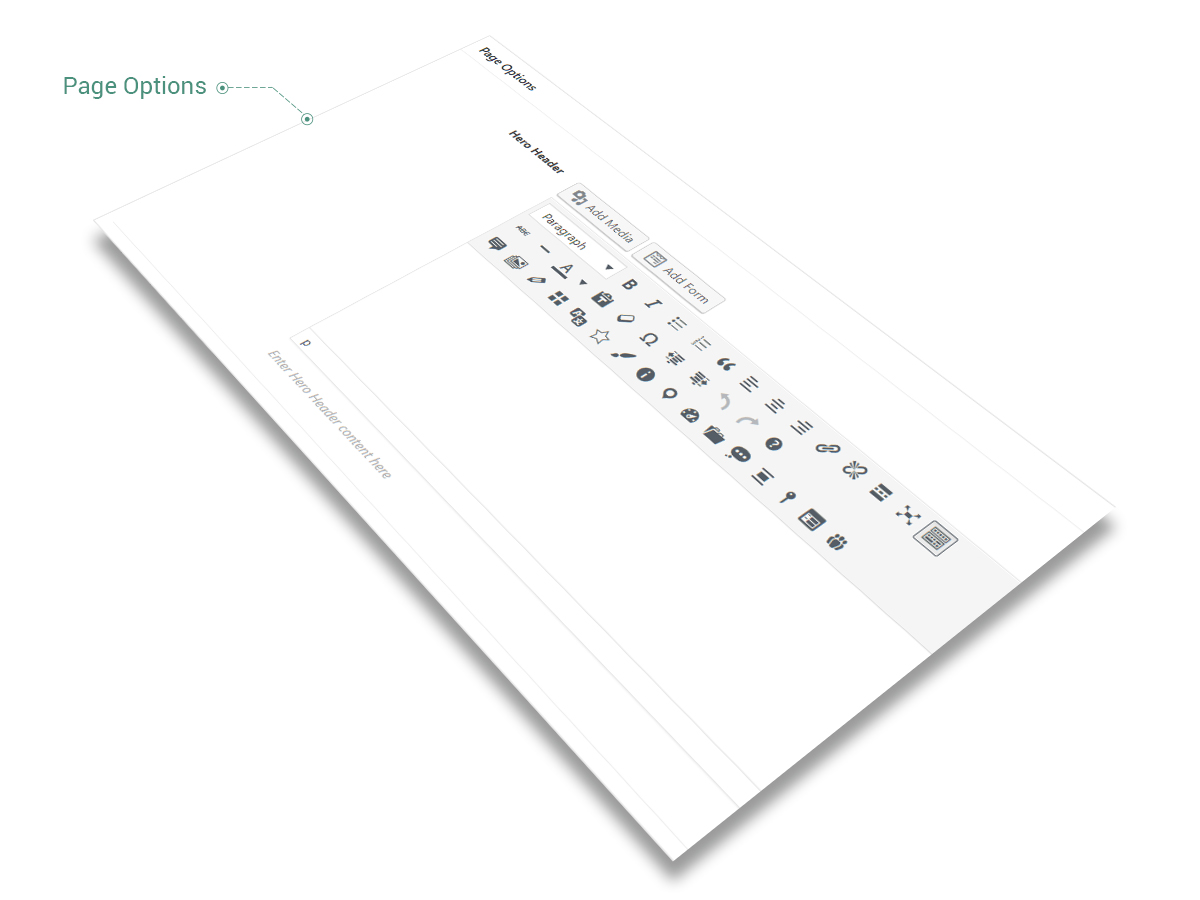
As Posts and Projects, the Page is conceived to offer you the unlimited freedom in the matter of layout and content distribution. That is why we preserve the same designing rule when talking about Hero Header from Page Options, that allows you to add any kind of content: Projects, Albums, Media items or text fields.
Keep in mind Do not think about Page Header as a separate item of Page. You can use it to insert here the entire content you need to display on your page.
A powerful tool of any page consists of its Hero Header as it represent the element you could emphasize your content with and make it unique.
The Blog Template was designed to help you starting and customizing your own blog. You could switch to Blog Template by going to Page Attributes → Template. The Blog Template has the following options:
- Display type — the way Blog Posts are displayed; choose between 6 types of cards: Shadow, Move, Fade, Rising, Plain or List. Read more about cards.
- *Overlay Transparency — overlay color transparency while hovering by mouse. The overlay color is set up in Theme Options when choosing General → Colors → Feature color. It affects just Move and Fade Types
- Columns number — choose how many columns of Blog Posts to showcase: 1, 2, 3, 4, 5 or 6
- Columns spacing — enter the spacing between columns, measured in pixels
- Full Width — blog page takes screen full width size
- Categories filter — it helps to sort items based on categories: Main Categories shows just the categories without its child-categories, if comparing to All Categories
- Filter position — the filter can be placed on left, center or right side above the blog
- Posts Categories — filter items by categories; leave empty to select all items
- Posts Tags — filter items by tags; leave empty to select all items
- Posts — you can choose specific posts to display, by entering their ID’s, separated by comma. The ID could be taken from Post Item URL
- Order by — the posts can be organized by Date, Title, Author, ID, Last modified date and Parent ID
- Order — choose between Ascending and Descending order
- Number of Posts per page — enter the number of posts to display at a time on one page
- Additional content — you can add more content immediately below the Blog